Last updated: September 10, 2026
Key Takeaways
- For many ranch fences, line posts are commonly set around 24 to 36 inches deep, but that changes with frost, soil, and post size.
- I would expect clear reference points every 50 to 100 feet on long runs.
- A common range is 24 to 36 inches for many line posts, with deeper settings for corners or freeze-prone areas.
- A ranch fence is not one generic product.
Hiring a ranch fence contractor? Then the rough answer in this ranch fence installation process: what to expect from start to finish is pretty straightforward: expect a site visit, a line layout, a written estimate, post setting, rail or wire installation, gate hanging, and a final walk-through. Still, the details do the heavy lifting. A good ranch fence on open ground is not the same thing as a quick yard fence, and the price, schedule, and finished look all hinge on soil, slope, corners, gates, and the fence material you choose.
Who this ranch fence installation process: what to expect from start to finish is for — and who should call somebody else
This ranch fence installation process: what to expect from start to finish applies if you own or manage acreage, pasture, a hobby farm, a horse property, or a rural boundary line and you want a fence that can hold animals, mark property, or both. I am assuming you already know the rough line you want fenced, have access to the property, and can tell a contractor whether the goal is livestock control, perimeter marking, or both. I am also assuming you are comparing bids from local fence companies, not planning to install several hundred feet yourself.
A ranch fence is not one generic product. A 3-rail wood fence, a field fence with barbed wire top strands, and a pipe fence all solve different problems. The right choice depends on what you are containing, how much pressure the fence must take, and how much maintenance you are willing to live with. For example, horse fencing usually calls for smoother rails and tighter spacing; cattle fencing often favors durability and visibility; boundary fencing sometimes leans toward a simpler line with fewer gates.
This ranch fence installation process: what to expect from start to finish is not the right project for someone who wants the cheapest visible line and does not care if it sags in a year. It is also not the right setup if your property line is disputed, because a fence crew cannot settle a boundary problem for you. If you are not sure where the line runs, get the line confirmed before posts go in. Moving a fence after installation is expensive and awkward.
Ground conditions matter. Rocky subsoil, clay that heaves, shallow bedrock, flood-prone low spots, and long unbroken slopes all change the way a contractor sets posts and braces corners. A ranch fence in Texas blackland clay is not approached the same way as one in sandy ground or frozen northern soil. That is not a marketing detail; it changes the build.
What happens before the first post is set?
A site walk comes first, then a line plan, then a bid that should spell out materials, post spacing, gate count, and who handles digging and cleanup. A serious contractor will not guess at those items from a phone call alone. They need to see terrain, access, and any obstacles such as tree lines, drainage ditches, old wire, buried utilities, or existing posts that might be reused.
I would expect the estimate to identify the fence type in plain terms: for example, 5-strand barbed wire, woven wire with wood posts, or 3-rail pipe. It should also say whether corner bracing is included, because corners are the backbone of a ranch fence. A “corner brace” is the reinforced assembly that resists wire pull and keeps the line from twisting over time. If a bid does not mention it, ask.
On pricing, I will not invent a number and pretend it fits every market. Costs vary a lot by material, terrain, gate hardware, and access. Wood rails, pipe, and high-tensile wire land in very different ranges. What matters more than a single price is what drives it: more corners, more gates, harder digging, and heavier materials all push the total up. A long straight run with easy access is cheaper than a short fence with several gates and one buried rock shelf. That math stops working fast.
Before work starts, ask for three specifics: how deep posts will be set, what diameter posts they are using, and how they handle corners and end braces. For many ranch fences, line posts are commonly set around 24 to 36 inches deep, but that changes with frost, soil, and post size. If a contractor gives you a vague answer, that is a warning sign. You are not buying “a fence”; you are buying a structure that must stay tight under load.
How is a ranch fence installed, step by step?
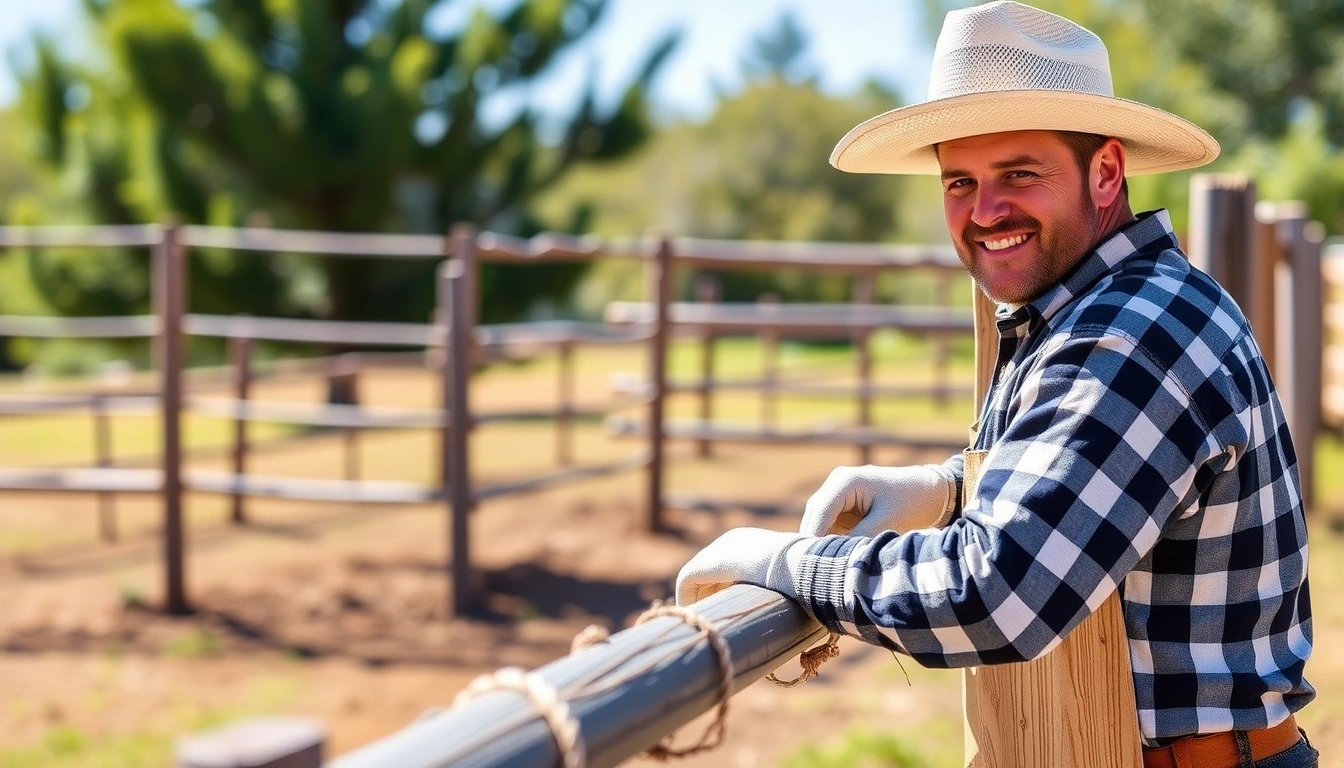
The ranch fence installation process: what to expect from start to finish should move from layout to bracing to posts to line material, with checks at each stage so problems are caught before the fence is fully built. A clean installation usually looks like this:
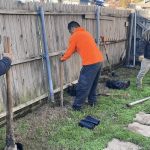
- Mark the fence line. The crew stakes the route and flags corners, gates, and changes in direction. I would expect clear reference points every 50 to 100 feet on long runs. Verify: the line matches your intended boundary and clears trees, utilities, and drainage paths. Problem sign: the layout “looks close enough” without marked corners or gate positions.
- Set corner and end assemblies first. These are the load-bearing points, and they need larger posts and bracing than line posts. In wood fencing, that often means a brace post with a horizontal brace and tension wire; in steel fencing, it may mean heavier pipe bracing. Verify: braces are square, tight, and aligned before any field fence is stretched. Problem sign: corners wobble when pushed by hand or the brace wire is twisted and loose.
- Dig post holes to the proper depth. The hole depth should match the soil and the post type; shallow holes lead to leaning, especially on soft ground. A common range is 24 to 36 inches for many line posts, with deeper settings for corners or freeze-prone areas. Verify: holes are vertical and deep enough to leave the post firm after tamping or concrete placement. Problem sign: holes are shallow, bell-shaped at the top, or collapse before the post is set.
- Set and plumb the posts. “Plumb” means perfectly vertical. The crew aligns each post with a level or laser, then backfills with compacted soil, gravel, or concrete depending on the design. Verify: posts line up in a straight run and do not move when pushed. Problem sign: posts are visibly leaning before the rails or wire go on.
- Install line posts at the planned spacing. Spacing depends on fence type, but the contractor should use a consistent interval rather than improvising. Many ranch fence systems use roughly 8 to 12 feet on line posts for wood or pipe, while some wire systems can stretch farther with the right tension and bracing. Verify: spacing is even and matches the material’s load. Problem sign: posts are randomly spaced or “filled in later” because the line ran short.
- Attach rails, woven wire, or wire strands. The material is fastened after the structure is anchored. Woven wire should be stretched taut but not distorted; barbed wire should be tensioned evenly; rails should be level and aligned. Verify: no sagging between posts, no sharp kinks, and no sloppy fasteners. Problem sign: wire has waves, rails tilt, or staples are driven so hard they split the wood.
- Hang and brace the gates. Gates need solid posts, working hinges, and latch clearance. A gate should swing freely and close without dragging. Verify: the latch meets cleanly and the gate has enough ground clearance for seasonal movement. Problem sign: the gate scrapes immediately or the latch only works if lifted by hand.
- Tension, trim, and walk the line. The final pass is not cosmetic. The crew checks for loose ends, sharp wire tails, missed fasteners, and low spots. Verify: the fence holds a straight line, corners stay rigid, and nothing snags gloves or clothing. Problem sign: the crew leaves without a walk-through or cannot explain how they corrected a sagging section.
What I watch for most is simple: does the contractor build the structure first and the visible fence second? That order matters. A pretty line with weak braces is a future repair job.
How long does ranch fence installation take?
The ranch fence installation process: what to expect from start to finish can range from a single day for a short, simple run to several days or longer for a long perimeter with gates, rocks, or rough access. A straight 300-foot section on open ground is generally not the same job as a mile of fencing with corners, a creek crossing, and a couple of drive gates. Material also changes timing, so consult a professional on the build sequence: wire fence goes up differently from wood rail or pipe, and setting steel posts is not the same as hand-setting treated wood.
An honest contractor will give you a range, not a promise that every weather delay can be ignored. Rain can shut down digging. Frozen ground can slow post holes. Rock can force a change in the post-setting method. In hot, dry weather, concrete cure time and labor conditions also matter, so ask the contractor how they handle those conditions and whether they follow manufacturer guidance for the mix they use. For many jobs, the quote should say whether the timeline includes material delivery, excavation, and final cleanup or only the on-site build.
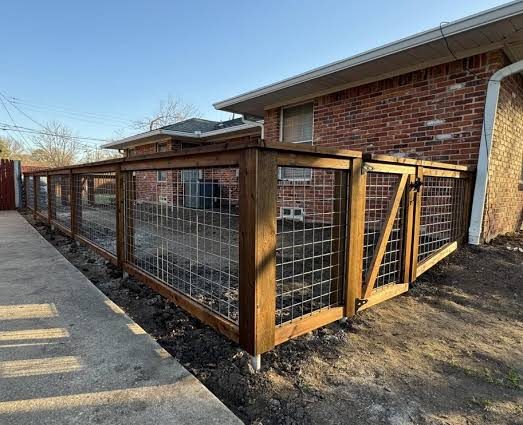
What a good result looks like is simple: straight lines, tight corners, gates that open with one hand, and no obvious wave in the fence line. On wire systems, the strands should look evenly tensioned. On wood or pipe, rails should be level enough that the eye does not catch a sag at every post. A fence does not need to be decorative to be right, but it should look deliberate. Random post spacing and uneven tops usually mean the crew fought the layout instead of correcting it.
I would also ask how the contractor handles weather and restart conditions. If they stop for rain, do they protect dug holes? If a post hole caves in, do they redig it or set the post anyway? Those answers tell you a lot about the quality of the job. Honestly, that’s where the shortcut shows.
What should I ask before I sign the estimate?
I would ask about post depth, brace construction, gate hardware, cleanup, and what is excluded from the price. That is the fastest way to separate a careful fence company from one that writes vague bids and hopes you will not notice the omissions.
Ask these questions in plain language:
– How deep are line posts and corner posts going?
– What size are the posts and what material are they?
– How many gates are included, and what hardware is used?
– Are corners and end braces included in the price?
– Who calls for utility locates if needed?
– What happens if you hit rock, buried concrete, or a wet area?
– Is old fence removal included, or is that a separate charge?
– What cleanup is included at the end?
A bid that leaves out bracing, gates, or old-fence removal can look cheaper than it really is. That is not a small paperwork issue; it changes the whole price. I would be cautious of any contractor who refuses to spell out post spacing or says “standard ranch fence” without naming the build. “Standard” is not a specification.
For local service work, written detail matters more than a sales pitch. If the contractor cannot explain how they handle tension, corners, and soft ground in a paragraph or two, they may be more comfortable selling than building.
When should you stop and choose a different approach?
Stop if the fence line is uncertain, the terrain is too unstable, or the design does not match the animals or purpose. Ranch fencing is not the right answer in every case, and forcing the wrong design usually costs more later.
Boundary line is disputed: the fence could end up on the wrong side of a property line — confirm the line before digging, and do not let installation start until the route is settled.
Soft, wet, or flood-prone ground at the planned line: posts may shift, lean, or rot faster — redesign the fence with better drainage, deeper setting, or a different route.
Rock ledge or shallow bedrock across part of the run: normal hole depth may be impossible — switch to another post-setting method or reroute the fence rather than accept shallow posts.
You need a fence to hold escape-prone animals with no tolerance for gaps: a loose wire or low gate is a safety issue for livestock — choose a tighter system and stronger gates, not a lighter budget build.
Access for equipment is too narrow for digging or hauling: labor time rises fast and the install can stall — plan for hand work, smaller equipment, or a different staging area.
Tree roots, old concrete, or buried debris run through the fence line: posts may not sit true and wire may snag later — clear the line first or shift it to a cleaner route.
Those are not dramatic edge cases; they are the situations that turn a routine install into a repair cycle. A different fence design, or a different line altogether, is often the cheaper choice.
The mistakes people make with ranch fence installation
The most common mistake is buying the lowest bid without checking what is missing. That usually means weak corners, thin posts, fewer gates than expected, or no cleanup. The cost shows up later when the fence sags or the contractor adds change orders. The better alternative is a bid that names post size, spacing, brace work, and gate hardware.
Another mistake is treating all fence materials as interchangeable, so check the design with a professional before you assume a wire, wood, or pipe build will perform the same way. A 5-strand wire fence and a 3-rail pipe fence are not built the same way, and they do not age the same way. Wire is cheaper and faster to stretch; wood and pipe are more visible and often sturdier in the eyes of the property owner, but they cost more and can take longer to install. Pick the structure that matches the animal and the maintenance plan.
A third mistake is skipping corner bracing because it is hidden and seems minor. It is not minor. Corners take load from the whole line. If they fail, the fence moves. The correct move is to ask how each corner is built and whether the brace wire is tensioned, not just stapled.
A fourth mistake is ignoring gates until the end. Gates affect layout, access, and cost from day one. A property with livestock trailers, tractors, or regular foot traffic needs gate placement planned early, not patched in after the line is built.
Sources and related guides
For installation basics and frost-depth considerations, see the USDA NRCS Field Office Technical Guide and local extension guidance from Texas A&M AgriLife Extension. For fence line planning, property access, and utility locates, see the National Electrical Safety Code guidance and your state’s one-call utility locate service before digging. For material selection, our wood fence installation guide, pipe fence overview, and ranch gate installation page can help you compare options before you sign a contract.