Last updated: September 10, 2026
Key Takeaways
- A ranch fence maintenance checklist for seasonal inspections helps you catch failures before they become livestock escapes, broken gates, or a full line rebuild.
- Clearing 2 to 3 feet along the line is not cosmetic work; it is part of keeping the fence readable.
- Fence failures often start at corners, ends, and gates, even when the middle still looks fine.
- A seasonal ranch fence inspection is about catching small failures before they become livestock escapes, broken gates, or a full line rebuild.
A ranch fence maintenance checklist for seasonal inspections helps ranch owners, managers, and hands-on caretakers catch small failures before they become livestock escapes, broken gates, or a full line rebuild. This ranch fence maintenance checklist for seasonal inspections is written for people who already know the fence line, have basic tools, and need a seasonal checklist that works on barbed wire, woven wire, pipe, and electric fence. Leaning from rot? Or a highway boundary, shared line, or serious electrical fault? That is not a “walk the line and tighten a few wires” job. In those cases, call a professional or the proper authority. For safety guidance on electrical and boundary hazards, see OSHA electrical safety and USDA NRCS conservation practice standards.
Who this checklist is for — and who should do something else
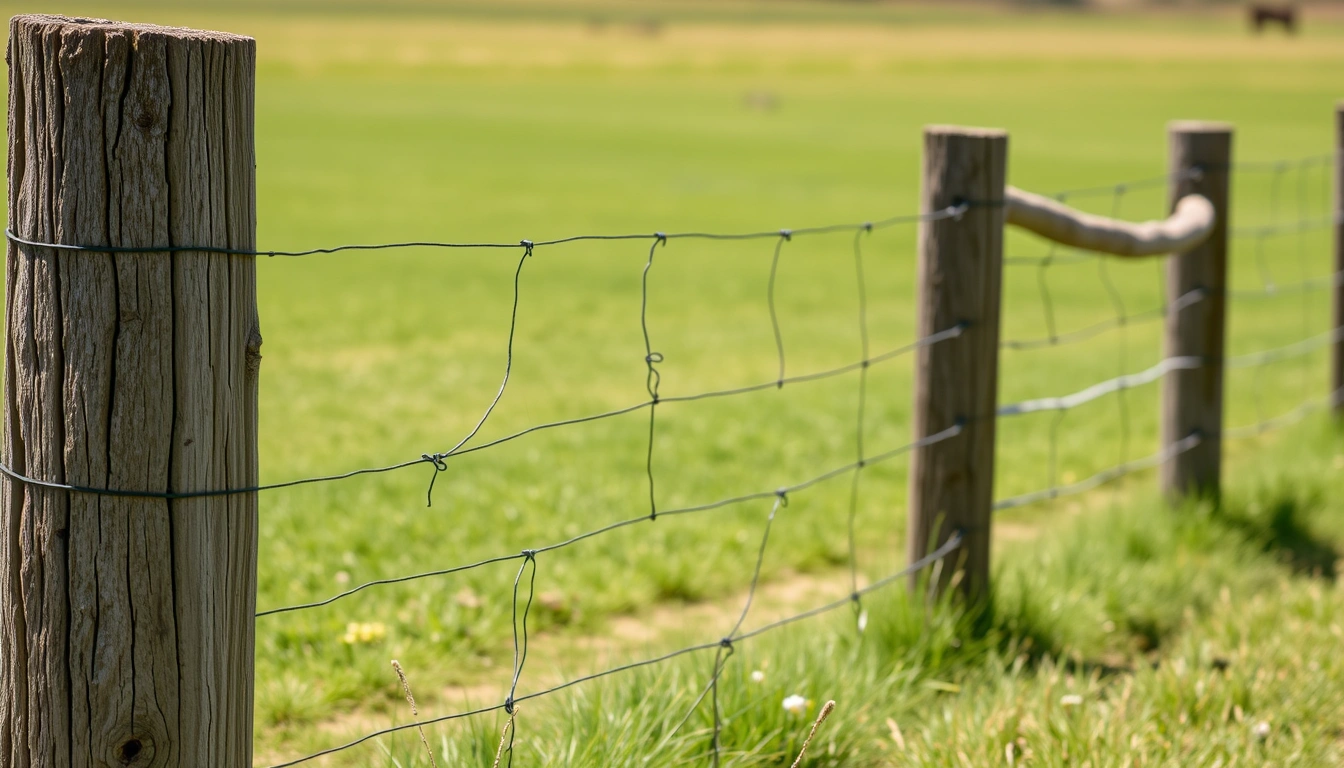
This checklist fits a seasonal inspection on an active ranch fence line of roughly 1 to several miles, done at the start of spring growth, after summer storm season, and before freeze-up. I’m assuming you can read a fence by eye, know the difference between a brace post and a line post, and carry a fence tool, pliers, and a tester. I’m also assuming the fence is there to hold something with weight and habit, not just mark a property edge.
Different fence types behave differently. A 3-wire barbed-wire fence can tolerate a few wire scars and still function. A 4-foot woven-wire fence for calves or goats cannot tolerate the same slack, because one pushed panel opens a lot more risk than one loose strand. Pipe fence and post-and-rail fail differently: alignment and welds matter more than wire tension. Electric fence adds a second layer of failure, because a fence can look fine and still carry only a weak pulse if the energizer, grounding, or vegetation load is wrong. For background on fence design and maintenance basics, see the USDA fence planning guide and University of Nebraska-Lincoln Extension fencing resources.
Here’s where I draw the line on DIY. If you see a long run of leaning posts after wet weather, a brace assembly that has lost its corner geometry, or any fence tied into a road right-of-way or utility easement, a routine checklist is not enough. Same story if you are tracing repeated animal pressure at a creek crossing or in a low spot with washout. The issue is no longer simple maintenance; it is design load, soil movement, or rights-of-way management. A checkbook alone is not the answer, and neither is a hammer alone. Both can fail you.
What should I inspect first on a ranch fence?
Start with the parts that carry the load: corners, braces, gates, and end assemblies. A fence line can look tidy in the middle and still fail at the corner post carrying the pull from a long run of wire. On a seasonal inspection, I walk the perimeter once in one direction so I do not miss the same bad spot twice, and I mark every issue as either structural, tension-related, or livestock-pressure damage.
Use a simple order. First, look at corners and ends. A good brace set should still look square and tight, not racked or twisted. In a wood brace, that means the diagonal brace wire or H-brace member should hold the post from leaning under load. In pipe or steel, look for weld cracks, bent caps, and footings that have shifted. A brace that has moved even a few inches is often the first visible sign of trouble.
Next, check gates. Gate posts should stand plumb, not sag toward the latch side. Latches should close without lifting the gate six inches by hand. If you need that much lift, the hinges, hinge pins, or post setting are already failing. A gate that drags on the ground wears itself out faster and encourages animals to test it.
Then move to line posts. I like to scan for a consistent rhythm and spacing. A sudden gap, even of 10 to 12 feet where the rest of the line is 8 feet apart, usually points to a broken or reset post. On woven-wire or high-pressure areas, that gap matters more than a small bend in a wire. Look for frost heave, impact damage, and rot at grade level, which is where wood posts fail first.
After that, check the wire or fabric itself. Barbed wire should be tight enough that it does not drape through the clips or insulators. Woven wire should keep its mesh shape without bulging. Electric wire should be centered in its insulators and not rubbed bare against a post. The problem sign is usually the same: the fence is no longer transferring force the way it was built to. Sloppy lines lie.
Ranch fence maintenance checklist for seasonal inspections
A complete seasonal inspection should be methodical, not improvised. I would plan on 1 to 3 hours for a short pasture and longer for rough country, because the real cost is not time spent looking; it is missing the one weak point animals will find in the first rain or the first thaw.
- Walk the full fence line in one direction. Cover every section without backtracking, and inspect at roughly 10- to 20-step intervals. Verify that no segment is skipped at creek banks, corners, brush edges, and crossings. A problem sign is any spot where you cannot see both adjacent posts or where vegetation hides the lower wire.
- Check corner, end, and brace assemblies first. Look for leaning posts, split wood, loose brace wire, cracked welds, or shifted concrete footings. Verify that the assembly still holds a straight line under tension. A problem sign is a brace that has moved out of square, because that usually means the whole fence is losing structure.
- Inspect gate posts, hinges, and latches. Open and close each gate fully once, then check for sag, scraping, and latch misalignment within about 1/2 inch. Verify that the gate shuts without forcing animals or people to bump it into place. A problem sign is a gate that rubs, drops, or needs repeated lifting.
- Measure wire tension by sight and feel, not by guesswork alone. On barbed wire, look for sag between posts; on woven wire, look for mesh distortion; on high-tensile lines, check that insulators still hold the wire at the right height. Verify that the wire returns to shape after a light push. A problem sign is a wire that stays bowed or has lost even tension across a long span.
- Examine every post at ground level. Probe for rot in wood, rust at the soil line in steel, and signs of frost heave or washout. Verify that each post stands firm when given a steady hand push. A problem sign is wobble at the base, because that usually means the post is no longer anchored where it matters.
- Check fasteners, clips, staples, and insulators. Replace loose staples, missing clips, bent wire ties, and cracked plastic insulators. Verify that staples are snug but not crushing wire and that electric wire never touches bare metal unless it is meant to. A problem sign is shiny wear marks, which show repeated movement and eventual failure.
- Test electric fence output if the fence carries current. Use a fence tester at the far end and at any suspect low spot, not just at the energizer. Verify that the pulse remains strong enough for the species you are containing and that grounding is sound. A problem sign is a dead section caused by weeds, broken insulators, poor grounding, or a failed energizer.
- Clear vegetation and debris around the fence base. Cut grass, brush, and fallen limbs back enough to keep the fence visible and, for electric fence, clear of constant shorting. Verify that the lower wire or offset wire has a clean buffer. A problem sign is green growth touching live wire, because load increases fast in wet weather.
- Mark and record every repair need before you leave the line. Use paint, flagging, or a notebook to note the exact post, corner, or span. Verify that high-priority issues are ordered by risk: escape points first, then structural damage, then cosmetic defects. A problem sign is a vague note like “north pasture fence bad,” which helps nobody when the crew returns.
That order matters because a ranch fence usually fails from the ends inward. If corners, gates, and low spots are sound, the middle of the fence often only needs tightening, clipping, or clearing. If the structure is weak, no amount of wire tidying will save it.
How do I inspect different fence types without missing the real failure points?
Each fence type has a failure mode that looks like another type of problem if you are not paying attention. Barbed wire often fails by slack and broken clips; woven wire fails by distortion; pipe fence fails by alignment and welds; electric fence fails by voltage loss and bad grounding. I would inspect them differently, even though the seasonal routine is the same.
For barbed wire, focus on wire height and tension. A broken strand near the middle is obvious. A more expensive mistake is missing a stretched run that has not broken yet. If cattle can press the top wire down enough to step over, the fence is already underbuilt for that pressure. In a 3-wire fence, the top wire’s job is not decorative; it is the psychological barrier. Simple, but true.
For woven wire, inspect the mesh size and the bottom edge. Goats and calves exploit the lower edge first. A 4-inch or 6-inch mesh that has widened from pressure can still look “mostly fine” from a distance while actually opening a climbing path. Check every tie to the posts, because a loose tie lets the whole fabric belly out.
For pipe fence, inspect welds, impact dents, and post plumb. Steel pipe can look healthy while a post base has shifted a few degrees. That tilt matters. A line of pipe fence that is no longer vertical sends load into the next post, and the next one, until the section bows. If you see rust at a joint, do not assume it is cosmetic. Rust plus movement means the joint is working loose.
For electric fence, the insulator is as important as the wire. A cracked insulator can bleed energy where you cannot see it. Vegetation touching the lower hot wire can reduce the effective fence dramatically, especially after rain. Check at least one point near the fence’s far end, because voltage loss often shows up there first. If your tester reads poorly at the end but fine at the energizer, the fault is in the line, not the box. Extension guidance from Texas A&M AgriLife and Penn State Extension both emphasize checking the whole circuit, not just the energizer.
A seasonally inspected fence should match its stock and its terrain. That sounds obvious, but it is the mistake I see most often in planning: using one checklist for every fence on the place and calling it done. Cookie-cutter checks miss the weak link.
When should I stop the inspection and fix something immediately?
Stop and fix — or escalate — the moment the inspection turns into a containment problem. A routine checklist is for catching wear; it is not for standing there while cattle, horses, sheep, or goats test a weak point. Here are the situations where the maintenance approach stops being the right tool:
A corner post is leaning more than a few degrees: The brace is losing the load that keeps the line tight — set the section aside for structural repair before it spreads to adjacent spans.
Two or more line posts have moved in the same direction: Soil movement, frost heave, or washout is likely underway — stabilize the ground problem first or the same repair will fail again.
A gate no longer latches without lifting or pushing hard: The gate geometry is off and animals will learn it — reset hinges or posts before the latch becomes a repeat escape point.
Electric fence tester shows a weak or dead end on a long run: There is a line fault, grounding issue, or short somewhere in the circuit — locate the load or damage and correct it before relying on the fence.
Wire has broken at a corner, end, or brace assembly: That break is carrying far more stress than a mid-span break — do not just splice it and walk away; inspect the support structure too.
Creek crossing, washout, or hillside erosion has exposed posts: The ground is moving under the fence — reroute, rebuild, or reinforce the section rather than patching the visible damage.
These are not minor maintenance problems. Each one means the fence is no longer doing the job it was built to do, and a patch can hide the failure long enough to create a bigger one.
The mistakes people make on seasonal fence checks
The biggest mistake is looking only for broken wire. That misses the slower failures that cost more: loose corners, shifting posts, and bad gates. A fence rarely fails all at once. It loses stiffness, then tension, then containment. If you only repair what has snapped, you will be back out there after the next rain or freeze. Same trap, different day.
Another common mistake is checking from the truck or from one side of the fence. That can hide a bowed post line, a low spot, or wire damage on the livestock side. A proper walk takes longer, but it reveals the fence at stock eye level, which is where problems show up first.
People also under-check the gate hardware. A gate that drags 1 inch today becomes a gate that will not latch after a wet week. Hinges, pins, and latch posts wear out faster than the gate panel itself. If you have one gate that sees daily use, inspect it every season, not every other season.
A fourth mistake is forgetting vegetation. On electric fence, grass and weeds can steal enough charge to make a line seem weak even when the energizer is fine. On any fence, brush hides damage and makes future inspections slower. Clearing 2 to 3 feet along the line is not cosmetic work; it is part of keeping the fence readable.
The last mistake is repairing only the obvious symptom. A broken wire at a corner often means the brace has shifted. A loose gate often means the post is moving. The correct alternative is to ask what load caused the visible fault, then fix that load, not just the damage.
What changes on hills, wet ground, and winter ground heave?
The standard checklist still works, but the order changes when terrain is fighting the fence. On hills, I check downhill pull first, because that is where line stress and animal pressure usually show up earliest. On wet ground, I look for soft bases, sinkage, and signs that a post has started to lean after rain. After freeze-up or thaw, I expect movement in the soil, especially where water sits near the surface.
If the fence crosses a swale, creek, or drainage line, give that area extra attention during every seasonal inspection. Water changes the ground faster than wire changes shape. A fence that looks acceptable in dry weather may be failing in a way you will only notice when livestock test it after a storm. That is also why it helps to inspect after the same kind of weather the fence will actually face.
In winter climates, frozen ground can hide problems that are obvious in summer. A post may seem solid while the soil around it is heaving or cracking. When the ground thaws, the same post can shift suddenly. So I treat early spring and late fall as the highest-value inspection windows. They show how the fence survived the season rather than how it looked in calm weather. Mud lies; spring tells on it.
How do I keep inspections consistent from season to season?
Use the same route, the same order, and the same notes every time. Consistency matters because a ranch fence inspection is easier to compare when you are not changing the process each round. I keep the same walking direction, the same break points, and the same labels for structural, tension, and livestock-pressure issues.
That consistency also helps with crews. If one person marks a corner as “needs brace work” and another marks the same spot as “loose,” the repair plan slows down. A simple checklist with location, issue type, and urgency is usually enough. If you want better long-term results, add a date and a photo to the note.
Since repeated inspection is the point, the record should show change. A post that leans a little more each season tells you the problem is active. A gate that gets harder to latch every year tells you the hinge or post is moving. A line that needs more clipping every spring may be telling you the fence height, vegetation pressure, or stock pressure is not right for that section. Small drift, big clue.
What does a good seasonal fence record actually tell me?
A good seasonal fence record tells you whether the fence is stable, declining, or improving. It also shows which sections deserve budget first. If you have one quarter-mile stretch that always needs work after wet weather, that is not random bad luck; it is a recurring problem in soil, drainage, or layout. If a gate gets adjusted every season, it may be time to reset the posts rather than keep tuning the latch.
The record should be specific enough that another person can pick it up and act on it. “North fence bad” is not useful. “North fence, 2nd corner south of the barn, brace shifted 4 inches after rain, gate latch sticks, electric read low at far end” is useful. The more exact the note, the less time you spend rediscovering the same failure.
That is the practical value of a seasonal ranch fence maintenance checklist: it turns a long fence line into manageable work. It keeps you ahead of failures instead of reacting to them, and it helps you spend repair time where the fence is actually losing strength.