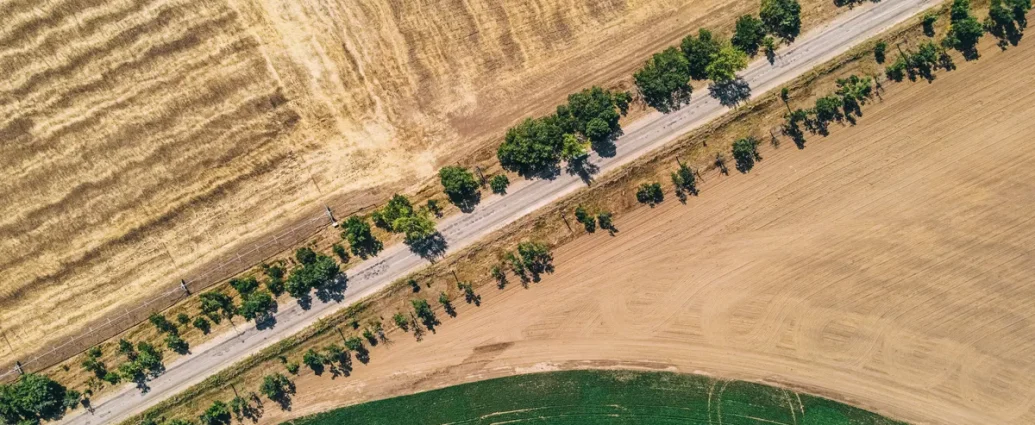
Last updated: October 24, 2026
Quick Answer: The best ranch fence planning and layout starts with the fence’s job, then the legal line, then gates and ground conditions; done well, it can save costly rework and keep a ranch fence usable for years.
If you want a ranch fence that works, plan the layout before you buy a single post. In Ranch fence planning and layout — The Complete Guide, the right line, spacing, gates, and corners will save money, reduce repairs, and keep livestock where they belong.
A fence that looks straight on paper can fail in the field if it ignores slope, water, handling lanes, or how animals move. Ranch fence planning and layout is really a land-use problem: the fence has to fit grazing, machinery, snow, wind, and the way you actually move cattle or horses from one place to another. This guide shows how to lay out a ranch fence so the finished line is practical, buildable, and easier to maintain.
Key Takeaways
- Start with purpose, not materials: boundary fence, cross-fence, exclusion fence, or handling fence each needs a different layout.
- Good layout follows terrain and workflow, not just property lines.
- Corners, gates, and water access are where many fence plans fail; if the line affects a boundary, consult a licensed surveyor or other qualified professional, and check local survey records or guidance such as the USDA Natural Resources Conservation Service.
- A straight-looking fence can still be wrong if it cuts drainage, blocks equipment, or creates dead-end grazing.
- The cheapest layout on paper can become a costly fence on the ground if it adds awkward bends, extra gates, or hard-to-reach spans.
What a ranch fence layout has to solve before the first post goes in
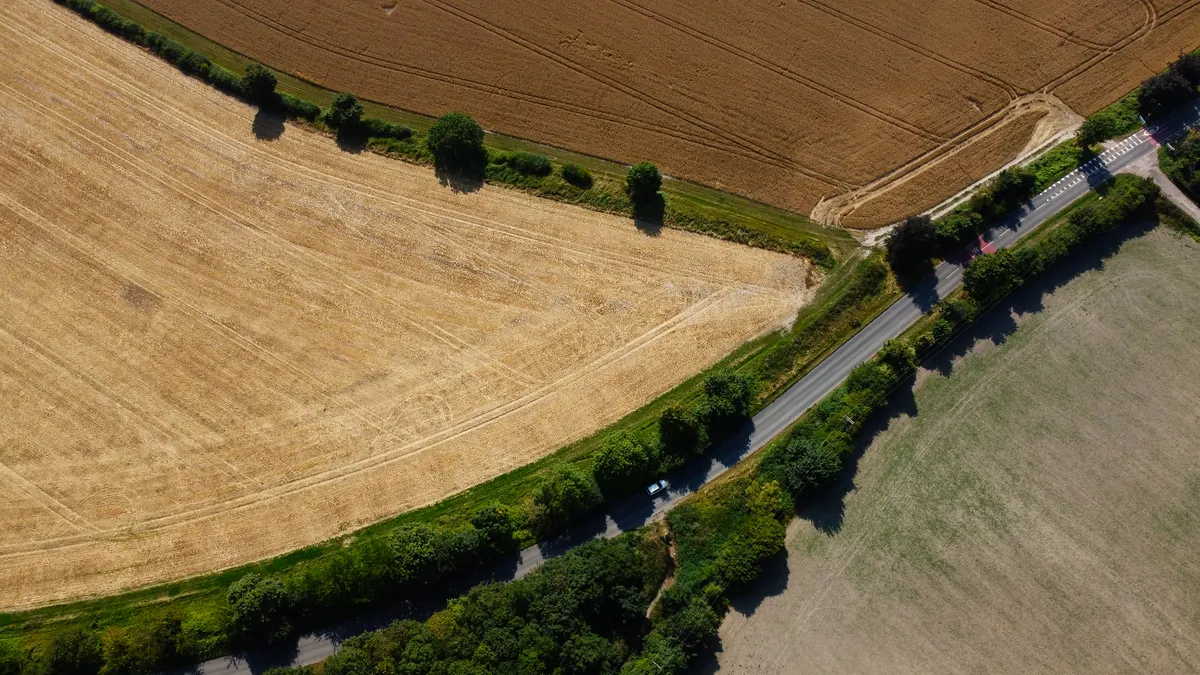
A ranch fence layout has to solve land control, animal control, and daily traffic at the same time. That means the “best” line on a map is not always the best line in the field, especially when topography and access change after you walk the route. A fence that supports rotational grazing, for example, may need more gates and more interior divisions than a simple perimeter fence, while a horse fence often needs tighter visual continuity and fewer sharp inside corners.
The first question is not “what fence style do I want?” It is “what problem am I trying to solve on this ranch?” Boundary lines, pasture splits, alleyways, corrals, and exclusion areas all have different jobs. A perimeter fence around 40 acres can tolerate a few utility compromises. A working cattle operation that moves animals weekly cannot.
The key here is the relationship between fence line and function — notice how a good layout lets you move animals, machinery, and people without reopening gates or crossing through the wrong pasture. That is what separates a working ranch layout from a pretty line on a survey.
Use this planning order:
- Define the fence’s job. State whether it is for boundary control, rotation, exclusion, or handling. Check: one fence, one primary purpose. Do not: assign one line three conflicting jobs if you can avoid it.
- Mark fixed constraints. Map creeks, roads, buildings, wells, powerlines, and steep breaks. Check: these points before linework. Do not: route a fence through a wash or under a tight utility crossing without a reason.
- Choose access points. Place gates where trucks, trailers, and ATVs actually enter. Check: turning room at each gate. Do not: place gates where a vehicle must back into a ditch or across a rut.
- Decide animal flow. Draw how cattle, horses, or sheep will move between pasture, water, and handling. Check: no forced bottlenecks. Do not: trap livestock in a corner with one narrow exit.
- Set maintenance corridors. Leave room for mowing, snow clearing, or fence repair. Check: a person can walk the line safely. Do not: run the fence so close to a brush line that it becomes invisible in summer.
- Confirm legal boundaries. Use surveys, recorded plats, or a licensed surveyor when boundary certainty matters. Check: the fence sits where the legal line allows. Do not: guess at a corner based on a tree, old wire, or memory.
A practical layout sketch uses symbols, not artistry: boundary line, gate swings, water, corrals, and lanes. If you cannot see how a tractor enters and leaves in your drawing, the drawing is not done yet.
How do I plan a ranch fence line on a map?
You plan a ranch fence line on a map by marking fixed features first, then tracing the least troublesome route that still serves the livestock. A good map plan usually starts with an aerial image, a survey, or both, then adds gates, water, slopes, and corners before any material list is written. The USDA NRCS and local survey resources are useful starting points when you need clearer information on boundaries or terrain.
Here is the planning sequence that keeps mistakes small:
- Collect the base map. Use a current survey, county parcel map, or aerial image. Check: the scale and property corners. Do not: rely on a sketch without dimensions.
- Mark the legal line. Highlight boundary points, easements, and setbacks. Check: every segment is tied to a known reference. Do not: assume old wire marks the true line.
- Plot topography. Note draws, ridges, drainage channels, and steep breaks. Check: where water runs after a heavy rain. Do not: cross active drainages without planning a crossing.
- Place gates first. Put gates where they serve animal movement and equipment access. Check: a gate opens into usable space. Do not: put a gate in the lowest muddy point unless you have no other choice.
- Draw the fence between functions. Connect pasture units, water points, and working areas. Check: the line shortens daily work. Do not: make the crew travel farther just to make the map neat.
- Measure the likely materials. Estimate lineal feet, corners, brace assemblies, and gate counts. Check: the quantities match the layout. Do not: order wire or posts before the map is final.
- Walk the route on foot. Recheck the line in the field before staking. Check: visibility, rocks, holes, and access. Do not: approve a line only because it looked good on screen.
A small shift on the map can change everything. Moving a gate 30 feet can improve trailer access, and shifting a line to the edge of a ridge can reduce mud and repair work. The mistake to avoid is treating the map as fixed before the ranch has had a chance to correct it; where boundary uncertainty matters, consult a licensed surveyor or review recorded plats before finalizing the line.
| Planning item | What to mark | Why it matters |
|---|---|---|
| Boundary corners | Survey points or recorded corners; consult a licensed surveyor if the location is uncertain | Prevents disputes and misplacement |
| Gates | Width, swing direction, approach room | Controls vehicle and livestock flow |
| Water points | Tanks, troughs, creeks, pipelines | Reduces pointless walking and crowding |
| Drainage | Ditches, draws, wet ground | Prevents erosion and soft spots |
| Corners | Inside and outside corners; professional advice may be needed where the line affects property limits | Drives brace design and wire tension |
| Equipment access | Mower, truck, trailer paths | Keeps maintenance possible |
A ranch fence plan that ignores drainage can look right until the first storm. After that, the fence is either under water, full of silt, or torn up by repeated wet crossings.
What makes a fence line work on hills, drains, and odd ground
A fence line works on difficult ground when it follows the land enough to stay practical, but not so closely that it becomes hard to manage. The wrong move is forcing a perfectly straight line over every rise and dip. On rough ranch ground, a fence may need subtle offsets, shorter spans, or a reroute to a stable ridge.
The key here is how the fence sits relative to the ground — notice how a smart line avoids low washouts, sharp hummocks, and places where snow drifts across the wire. That is what separates a line that lasts from one that gets repaired every season.
On slopes, the main concern is not just appearance. Steep ground can create awkward post heights, uneven wire tension, and gaps under the fence if the grade changes too quickly. On drainages, the concern is repeated water flow and debris. If a fence must cross a draw, it should do so at the narrowest stable point, not where the channel fans out. A crossing at the wide wet edge usually means more post stress and more mud.
A useful rule is to reduce drama in the line. If a fence can move 20 or 30 feet to a firmer terrace, that is often better than fighting a soft bottom. If it can swing to a ridge shoulder and add one extra gate for access, the long-term repair burden may be lower.
| Ground condition | Better layout choice | Poor layout choice |
|---|---|---|
| Steep slope | Follow contour enough to reduce grade stress | Long straight run over abrupt change |
| Drainage draw | Cross at narrow stable point or avoid crossing | Cross the broad wet bottom |
| Rocky ridge | Set line where posts can seat solidly | Force post holes into unstable rock pockets |
| Snow country | Avoid drift lines and exposed saddles | Put the fence across a natural drift path |
| Soft bottomland | Keep fence on firmer edge or raised ground | Run line through chronic standing water |
A line that looks slightly indirect on paper can be the better fence. Straight is not the same as correct.
Which posts, braces, and spacing fit the plan?
The right posts, braces, and spacing are the ones that match the fence type, the ground, and the stress at corners and gates. A boundary fence with wire on long runs needs a different structural plan than a rail fence around a horse pasture or a high-tension exclusion fence. If the structure is weak, no layout drawing can save it.
The first thing to fix is the brace system. Corners, ends, and gates take the load. They are not decorative. A good brace assembly gives the fence something to pull against when wire is tensioned or when animals press on it. The key here is the brace detail — notice how a solid end frame resists pull without leaning. That is what separates a fence that stays put from one that walks out of square.
Spacing depends on material and terrain. On flatter, consistent ground, post spacing can be more regular. On rough ground, spacing often tightens where the fence changes direction or where wire support needs to stay consistent. The exact distances vary by system, but the layout should never be so sparse that the fence bows in long spans or so crowded that the materials become wasteful.
A practical way to think about the structure is this: corners, ends, and gates get the strongest work; the rest of the line supports the system. If you underbuild the braces, the fence will slowly loosen. If you overcomplicate every section, you pay for strength you do not need.
| Fence element | Typical design job | Layout clue |
|---|---|---|
| Corner assembly | Stops pull from long runs | Place where line changes direction |
| End assembly | Anchors a termination point | Use at dead ends and gate runs |
| Line posts | Support wire, boards, or rails | Keep spacing even enough for the fence type |
| Gate posts | Carry hinge and latch load | Make them stronger than line posts |
| Braces | Transfer tension into the ground | Put them wherever pull accumulates |
What many plans get wrong is treating all posts as equal. They are not. A gate post set 4 inches too light or a corner brace placed casually can undo a careful layout on the first season of use.
How many gates should a ranch fence have?
A ranch fence should have only as many gates as the land-use pattern requires, with each gate placed for a real movement path rather than convenience alone. Too few gates create dead-end grazing and awkward drives. Too many gates add cost, weak points, and maintenance.
The right gate count comes from the travel map, not from habit. If a paddock needs livestock rotation every 7 to 14 days, the gate arrangement should make those moves simple. If equipment must cross from one side of the ranch to the other, a gate placed near a natural route can save repeated fence damage from improvised crossings. The wrong gate is the one people stop using because it is hard to reach, hard to open, or set where mud collects.
The key here is gate function — notice how a well-placed gate sits on solid ground, lines up with a lane, and opens into space, not into a fence corner or a ditch. That is what separates a useful access point from a constant headache.
Choose gate locations with this process:
- List every crossing need. Identify where livestock, trucks, trailers, and ATVs must pass. Check: every repeated movement is named. Do not: rely on memory.
- Separate people routes from animal routes. Keep routine foot access away from pressure points. Check: fewer conflicting uses at each opening. Do not: force herd movement through the same gate used for daily equipment traffic if you can avoid it.
- Place gates on stable ground. Favor dry, firm footing with room to work. Check: no standing water at the hinge side. Do not: set a gate where the latch will be buried in mud for half the year.
- Match width to use. Small access gates and wider equipment gates serve different jobs. Check: the opening fits the largest regular use. Do not: build a narrow gate and hope the trailer will “just fit.”
- Plan swing direction. Open the gate away from traffic and obstacles. Check: clear swing arc. Do not: let the gate hit a post, rock, or slope.
- Keep latch access simple. Make opening and closing possible with one hand when practical. Check: the latch is reachable from safe footing. Do not: make a person step into the lane to unlatch it.
Every gate is a future decision point. If the layout makes that point easy, the fence gets used correctly.
What should a boundary fence plan include?
A boundary fence plan should include the legal line, corner treatment, known easements, access points, and the style of fence that suits the risk at that edge. A ranch boundary is not just a line that keeps animals in; it is also the place most likely to create neighbor issues, survey errors, and repair disputes.
The strongest boundary plan starts with certainty. If the property line is not clear, a fence can end up in the wrong place, and moving it later is expensive. For that reason, a boundary fence deserves more documentation than an interior cross-fence. If the line follows a road, creek, or shared edge, the plan should note who has access, where maintenance can happen, and where the fence will sit relative to the legal boundary.
The key here is boundary discipline — notice how the fence line, legal line, and access strip are not always the same thing. That is what separates a clean installation from a future argument.
A good boundary plan should also account for animal pressure. Outer fences often face more wildlife, trespass, or stock pressure than internal divisions. That may mean stronger posts, more visible wire, or a fence type that the local conditions can tolerate. In some ranch settings, a simple outer barrier and simpler interior divisions is the right split. In others, the boundary needs to carry most of the work.
The plan should answer these questions in writing:
- Where exactly is the legal line?
- Which corners are fixed by survey?
- Where can a vehicle reach for repair?
- Are there known easements or rights-of-way?
- What fence style matches the exposure at that edge?
A boundary fence that is vague on paper is usually vague in the field too.
The layout check that catches expensive mistakes before construction
The layout check catches the mistakes that are hardest to fix after posts are set. Once the line is staked, the real job is to verify fit, function, and buildability one more time before digging starts. This is where many ranch fence plans fail: the line is accepted because it looks right from a distance.
The key here is the final walk-through — notice how the proposed line is judged against boots-on-the-ground conditions, not just a drawing. That is what separates a workable fence from one that needs redesign after the first rain or the first equipment pass.
Use this final check before construction:
- Walk the entire line in the field. Follow the proposed route end to end. Check: footing, visibility, and obstacles. Do not: skip hard sections because they are inconvenient.
- Stand at each gate location. Imagine a truck, trailer, or herd entering there. Check: turning room and swing room. Do not: approve a gate you cannot physically picture using.
- Look at the line from both directions. Sight down long runs and back toward corners. Check: line continuity. Do not: assume it is straight from only one viewpoint.
- Confirm drainage after rain behavior. Ask where water will move in a storm. Check: runoff paths and soft ground. Do not: place posts where flowing water will scour them out.
- Verify measurements one more time. Recheck spans, gate widths, and corner distances. Check: the layout matches the material order. Do not: build from memory.
- Review who maintains the fence. Consider who will mow, repair, or reset wire later. Check: access for maintenance tools. Do not: leave a line no one can reach safely.
- Approves changes before digging. Adjust the line now if a problem shows up. Check: any change is marked clearly. Do not: make field changes casually once the crew starts setting posts.
A smart layout also leaves room for honest trade-offs. A fence that perfectly follows every contour may be harder to build. A fence that is cheapest today may be more expensive over 10 years because it blocks access or creates muddy choke points. The right plan is the one that serves the ranch after the novelty of construction is gone.
What a good ranch fence plan looks like on paper and on the ground
A good ranch fence plan looks simple on paper and deliberate on the ground. On the page, it has clear corners, sensible gate spacing, named fence types, and no mystery crossings. On the land, it follows firm ground, respects water flow, and lets people and animals move without fighting the fence every day.
The simplest way to judge the plan is to ask three questions: Can I move livestock efficiently? Can I reach the line to maintain it? Can I build it without creating a future repair problem? If the answer is yes to all three, the layout is probably sound.
A poor plan usually gives itself away with crowded gates, odd angles, long blind runs, or repeated crossings through wet ground. It may also try to use one fence to solve too many issues at once. That is a sign to split the job into separate lines: one for boundary, one for rotation, one for handling, and one for exclusion if needed.
The key here is the overall pattern — notice how the best ranch fence plan reduces friction at every step, from livestock movement to maintenance. That is what separates a fence that becomes part of ranch routine from one that becomes a permanent nuisance.
For anyone planning a ranch fence for the first time, the safest path is to begin with purpose, map the fixed constraints, place gates before posts, and verify the route on foot. That sequence is less exciting than jumping straight to materials, but it is the difference between a fence that fits the ranch and one that merely surrounds it.
If the line is clear, the gates are useful, the ground is workable, and the structure matches the load, the fence will do its job with fewer surprises. That is the real goal of ranch fence planning and layout: not just enclosure, but order.
Drafted with AI; not yet reviewed by a person.