Last updated: September 10, 2026
Key Takeaways
- Verify there is no visible hump or dip when viewed from 10 to 15 feet away.
- If the overlap is only 4 or 6 inches, the joint concentrates stress at the screw line.
- A board can look ugly and still be salvageable if at least 12 inches of sound wood remains on both sides of the break.
- Remove loose screws, nails, and split fragments for at least 6 to 8 inches past the visible crack on each side.
A broken fence rail is usually a small structural failure, not a reason to tear out the entire fence. When the posts are sound and the damage stays confined to one rail or one span, you can repair a broken fence rail without replacing the whole run. I’d fix that rail in place, honestly — with a splice, a sister rail, or a short replacement section — instead of buying new panels.
Who this repair is for, and what I assume you already have
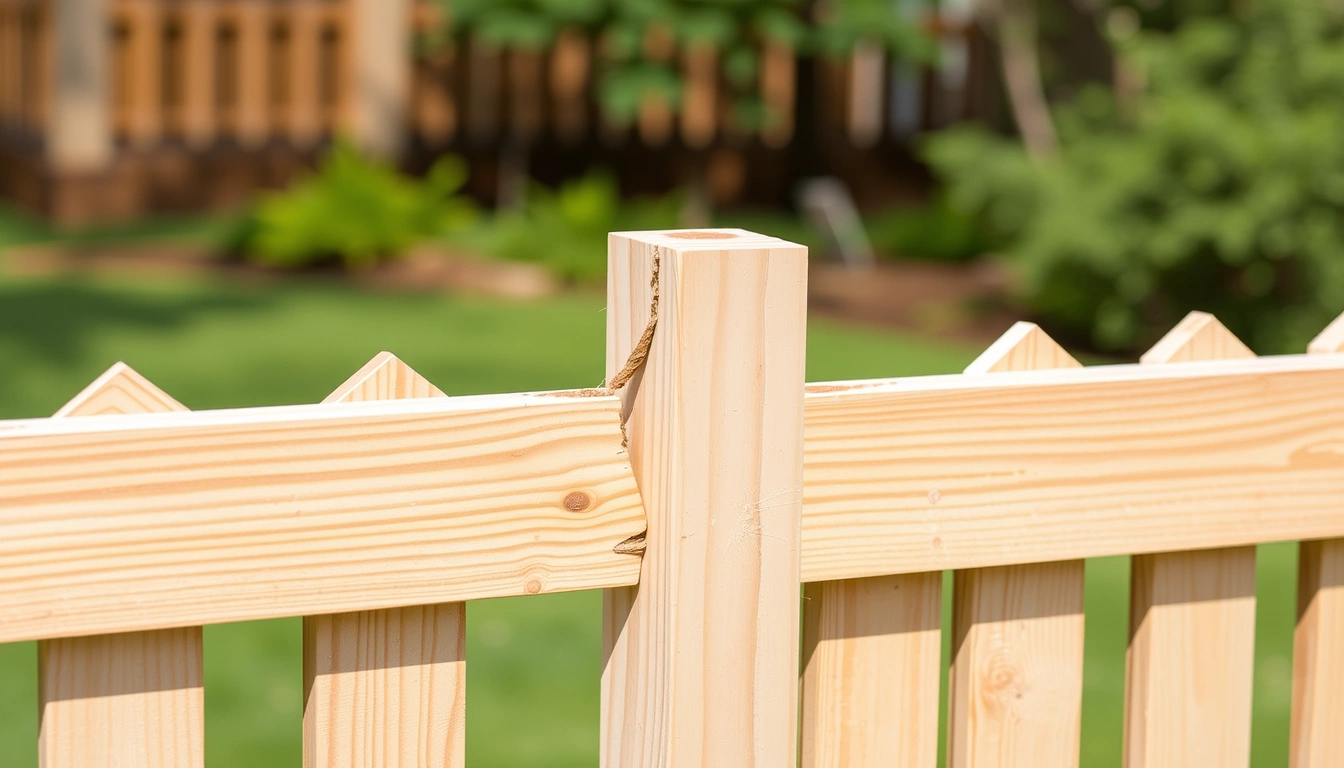
This fix is for a fence where the rail has cracked, split, rotted at one end, or popped loose from the post connection, but the rest of the run is still straight enough to keep. I’m talking about common wood fences with 2×4 rails, not vinyl systems with proprietary snap-in parts or steel fence with welded members. Wrong job? Probably. If the post is leaning, the fasteners are failing at several points, or rot has spread into the post, this is not the repair you want.
Basic tools are enough: a tape measure, level, drill/driver, saw, exterior screws or structural screws, and a clean way to cut lumber. For a typical wood fence rail, a 24-to-30-inch repair section is usually enough to bridge one damaged area, and a 4-foot level is useful for checking alignment. Check your cuts. Drive screws straight. That’s the whole game.
The judgment call is simple: repair the rail only if the load path still makes sense. A fence rail transfers weight and racking forces between posts. If the post has moved, the repair is just makeup on a deeper problem. I would not recommend this approach for a boundary wall, retaining fence, or any fence where the rail is part of a safety barrier around a drop-off or pool area; those situations deserve a higher standard than a cosmetic fix.
What failed, and how to tell whether the rail is repairable
Repairable damage stays local. The rest of the span still has to do its job. Common failure modes include a split from a knot, decay where water sat on the top edge, a snapped rail at a post, or a fastener hole that has enlarged until the rail wobbles. Ugly doesn’t always mean doomed. A board can still be salvageable if at least 12 inches of sound wood remains on both sides of the break.
I start with three checks: the posts, the rail ends, and the fasteners. A post that moves more than about 1/4 inch when pushed by hand is a red flag. A rail end that crumbles when probed with an awl or screwdriver is too weak for a simple splice. Fasteners that have pulled out cleanly from dry, solid wood can often be replaced with longer structural screws; fasteners that pulled out because the wood is punky need a different solution.
Three repair paths come up most often: a scarf splice, a butt splice with a backing block, or sistering a new rail alongside the old one. A scarf splice is a diagonal joint that increases gluing and bearing area; in fence work, it is more useful on decorative rails than on heavily loaded privacy fences. A backing block is a short piece of lumber fastened behind the joint to bridge the break. Sistering means fastening a new rail beside the damaged one so the two members share the load. For many homeowners, sistering is the easiest and safest option when the rail is still mostly sound.
The mistake I see most often is treating a structural crack like a surface blemish. If the rail already sagged before it broke, repair the alignment first. If the fence line is out of plane by more than about 1/2 inch over 6 feet, the splice may hold but the fence will still look wrong. If you are unsure whether the damage is only cosmetic, consult a qualified fence or structural repair professional; FEMA’s home repair guidance and many local building departments stress that movement and cracking can signal more than surface damage.
How do you repair a broken fence rail without replacing the whole run?
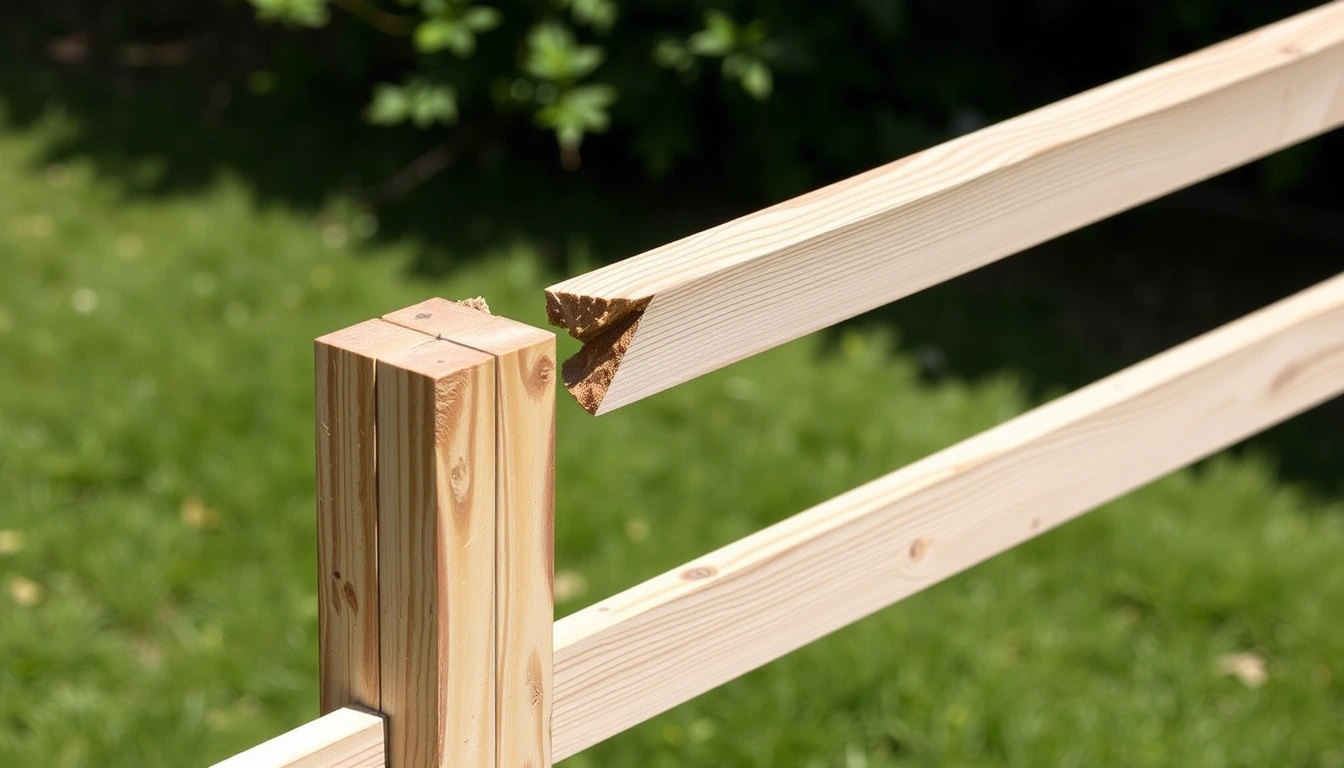
Brace it first. Then cut back to sound wood, add a splice or sister rail, and fasten the new member so the load crosses the damaged area. Here is the process I would follow on a standard wood fence rail 2×4 or similar dimension.
- Brace the span before you remove anything. Clamp a straight scrap board or temporary 2×4 under the damaged rail and prop it with a 2×4 brace to the ground or a stake. Keep the rail within about 1/8 inch of its current position. Verify that the fence does not move when you release your hand. If it shifts noticeably, the post or adjacent rail is also failing.
- Expose the full damage. Remove loose screws, nails, and split fragments for at least 6 to 8 inches past the visible crack on each side. Use a pry bar carefully so you do not widen good splits. Verify that you can see clean wood, not gray, fibrous rot. If the wood compresses under the tool or flakes away, the section is too degraded for a splice.
- Cut back to solid material. Square the damaged ends with a saw, cutting at least 2 inches beyond the last sign of splitting or decay. A clean, square cut gives you a predictable joint. Verify both ends are flat and parallel. If the saw cut leaves angled or crushed fibers, trim again; bad bearing surfaces make the repair weak.
- Choose the repair piece. Cut a new rail or sister piece so it overlaps the damaged zone by at least 12 inches on each side, and preferably 16 to 24 inches if the fence is tall or exposed to wind. Use matching lumber size, such as 2×4 to match a 2×4 rail. Verify the replacement section sits flush with the original rail. If it rocks or twists, the dimensions are off or the original rail is warped.
- Fit the splice or sister rail. For a backing block repair, place a 3/4-inch to 1-inch-thick block behind the joint, centered on the break, long enough to cover both sides. For sistering, run the new rail alongside the old one from post to post if possible. Verify the joint has no gap larger than about 1/16 inch. If the gap stays open, the cut is wrong or the rail is bowed.
- Fasten with exterior-rated screws. Use corrosion-resistant structural screws, usually 2 1/2 to 3 inches long for 2×4 rails, and place them about 1 1/2 inches from the board edges. Put at least 2 fasteners on each side of the break for a short splice; 3 per side is better on a long sistered section. Verify the wood draws tight without splitting. If the board splits, back out the screw and predrill with a bit slightly smaller than the screw shank.
- Check alignment with a straightedge or 4-foot level. The repaired rail should line up with adjacent rails and hold the fence face within about 1/4 inch over the repair length. Verify there is no visible hump or dip when viewed from 10 to 15 feet away. If the rail is still out of plane, loosen the fasteners and shim or recut before tightening again.
- Seal exposed end grain and refit the pickets or boards. Brush exterior wood preservative or primer on fresh cuts, especially on pressure-treated lumber where the end grain drinks moisture. Check the product label or consult the lumber supplier, because treatment and primer compatibility can vary by species and preservative system. Reattach pickets or boards with 1 5/8-inch exterior screws or ring-shank nails as appropriate. Verify the repaired rail does not twist when you fasten the face boards. If it twists, the repair lacks enough overlap or the fasteners are too few.
For many homeowners, this takes 45 minutes to 2 hours per rail, depending on access and whether you are repairing from one side or both. The result should look boring: straight, tight, and not obviously stressed. If it looks like a patch, the joint probably telegraphs too much movement. Plain and sturdy. That’s the sweet spot.
Which repair method should I choose for my fence rail?
I’d pick a sister rail for the strongest, simplest fix; a backing block for a quicker middle-ground repair; and a scarf splice only when the fence is decorative and the cut can be made accurately. The right choice depends on the rail’s position, the wood condition, and how much of the span is damaged.
A sister rail works best when you can reach the full length between posts or nearly the full length. It spreads load over a larger area and reduces the chance that one fastener line takes all the stress. Trade-off: visible overlap if the rail is exposed. A backing block is easier when only a short section is broken and you want a narrow repair footprint, but it depends more on screw strength and careful placement. A scarf splice looks neat and can be strong in the right hands, yet it is not my first choice for a wind-loaded privacy fence because the angled cut has to be precise.
If the rail broke right at the post, I like a short replacement section that ends on each side in sound wood and ties back into the post with the same fastener pattern used originally. If the rail failed because the lumber was rotten, replacing only the broken inch or two is a false economy. Rotted wood rarely stops at the visible edge. It snakes farther than you’d expect.
Material choice matters too. Pressure-treated lumber is usually the closest match for treated fence rails, but check the existing fence species and consult the lumber supplier or a local building pro if you are unsure; cedar or redwood can be used if the rest of the fence is already that species. Do not mix a soft repair piece into a hard, weathered rail and expect it to stay straight. Dimensional mismatch by even 1/8 inch can make a fence face wander, which is easy to spot from the street.
When should I stop and do something else?
Stop and switch methods when the rail issue is really a post, moisture, or geometry issue. These are the situations that change the job:
The post moves by hand: The rail is not the main failure; the post is. — Rebrace or reset the post before repairing the rail, or the new joint will fail early.
Rot extends more than 6 to 8 inches past the break: The wood no longer has enough strength to hold screws or carry load. — Replace that rail section rather than splicing through decay.
The fence is leaning more than about 2 inches over a 6-foot span: The load is already out of plane. — Straighten the structure first or replace the affected bay.
Multiple rails are cracked in the same bay: The section is under broader stress, often from wind, frost heave, or a shifting post line. — Repairing one rail will only postpone the next failure.
The fence supports a gate hinge or latch: That rail carries concentrated load and constant movement. — Reinforce the gate frame or replace the full gate-side assembly.
The fence is part of a safety barrier or code-sensitive enclosure: The repair must meet local requirements, not just look acceptable. — Use a code-appropriate fix or hire the job out if you are unsure.
The fence is metal, vinyl, or composite with proprietary connectors: Wood-splice methods do not translate cleanly. — Use the manufacturer’s replacement part or the system-specific repair method.
The break is at the same point as visible insect damage or advanced rot: The hidden damage is usually worse than the visible damage. — Replace the affected member and inspect the adjacent post and rail ends.
In short, I stop if the damage is structural rather than local. A fence rail repair works when the rest of the line still knows how to stand up.
The mistakes that make a rail repair fail
The first mistake is using short screws and hoping friction will hold. A 1 1/4-inch trim screw is not a structural fastener for fence repair. It can snap or pull out. I would use exterior-rated structural screws long enough to bite at least 1 inch into the sound member on the far side of the joint, which usually means 2 1/2 to 3 inches for a 2×4 rail.
The second mistake is making the patch too short. If the overlap is only 4 or 6 inches, the joint concentrates stress at the screw line. A 12-inch minimum overlap is far safer, and 16 to 24 inches is better where wind or sag is an issue.
The third mistake is leaving rot in place because it “feels okay.” Punky wood may hold a screw for a week and fail after the first wet season. The correct alternative is to cut back until the driver bit meets firm resistance and the shavings come off in clean chips, not dust.
The fourth mistake is forcing a repair into a bowed rail without checking the line. A crooked rail telegraphs through the fence face and creates a visible step. I would straighten with clamps and a straightedge before fastening anything.
The fifth mistake is ignoring end grain. Fresh cuts can absorb water quickly, especially on treated lumber and softwoods. To reduce the chance of early decay, check the preservative or primer label and, if appropriate for the wood and product, apply it to exposed cuts; consult the manufacturer or a local lumber pro if you are not sure.
The sixth mistake is overdriving screws and crushing the wood fibers. Once the screw head sinks too deep, the rail loses clamping force and can split near the edge. Stop when the head is flush or just below flush, not buried.
What if the break is at a post or the fence keeps moving?
You modify the repair by tying the new piece into both sides of the post connection, or by replacing the rail section that includes the end connection. A break near the post is not the same as a break in the middle of a span because the connection itself carries much of the stress.
If the rail end is crushed where it meets the post, cut it back to square wood and use a longer splice that extends past the post-facing zone by at least 12 inches. On some fences, it is cleaner to replace the full distance from one post to the next and reuse the pickets or boards. That is still not “the whole run”; it is just the failed bay.
If the fence moves in the wind, add fasteners at the rail-to-post joint, but do not crowd them. Two to three exterior screws per connection is usually enough